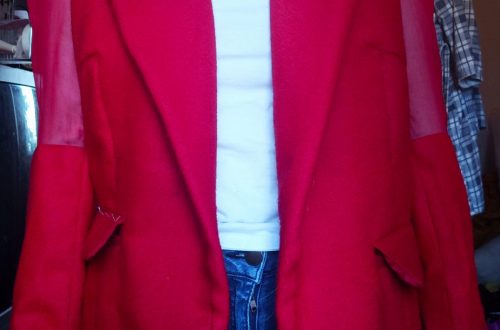
INLAYS WITH CORNER REINFORCEMENT
To be exerted in the inlay with corner reinforcement we made a small manequin cover.

Step 1: cutting
To make it happen, patronage was provided to us by our teacher. We have chosen contrasting fabrics to clearly see the errors.
Step 2 : inlay
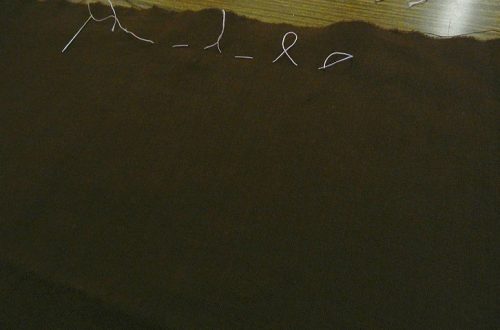
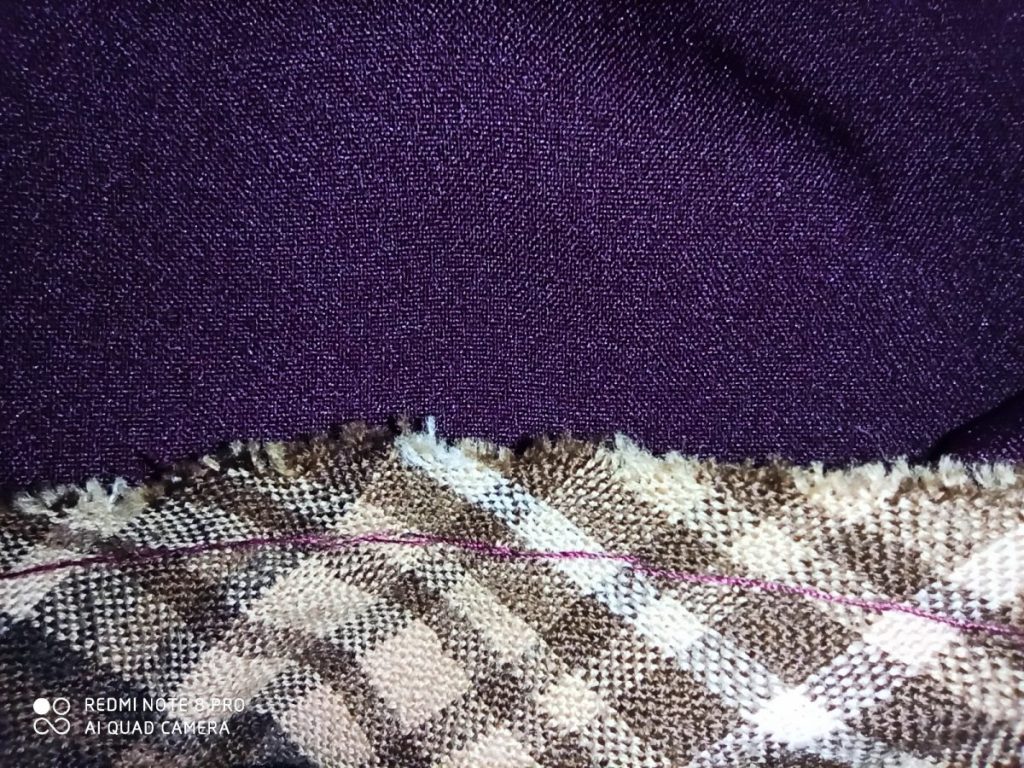
To make this inlay it is exactly the same as for the study pieces. We are going to prick a rectangle of lining, we cut and we overcast. Then we are going to assemble the front and the inlay in front by pivoting at each angle. For that let your needle plant and raise the presser feet. To get high it was chosen to make a topstitch

Step 3: assembling
Then you have to match your backs with your front in open seam. But before thinking about closing the back clips
step 4: the collar
Once the body goes up we will assemble the neck. louse that at the end of the back we will take the collar in sandwich with the facing (2cm) then assemble your collar to the machine and fold it back by hand.
Step 5: the sleeves
For the sleeves you will have to pass a gathered wire then crush its same pucker with the iron once this is done you can assemble your sleeves.
Step 6: finishin
To finish it is enough to make a filled hand oversew with the bad of sleeve and bottom of clothing.