3D MOLDING
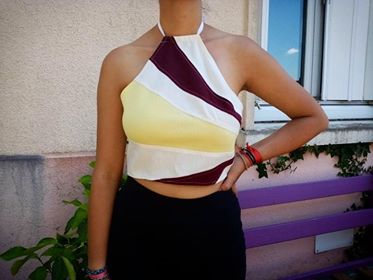
We studied the dart movements from another angle, we made a 3D molding. You won’t find a pattern because I created this one, and it’s just a study piece.
Step 1: The Body
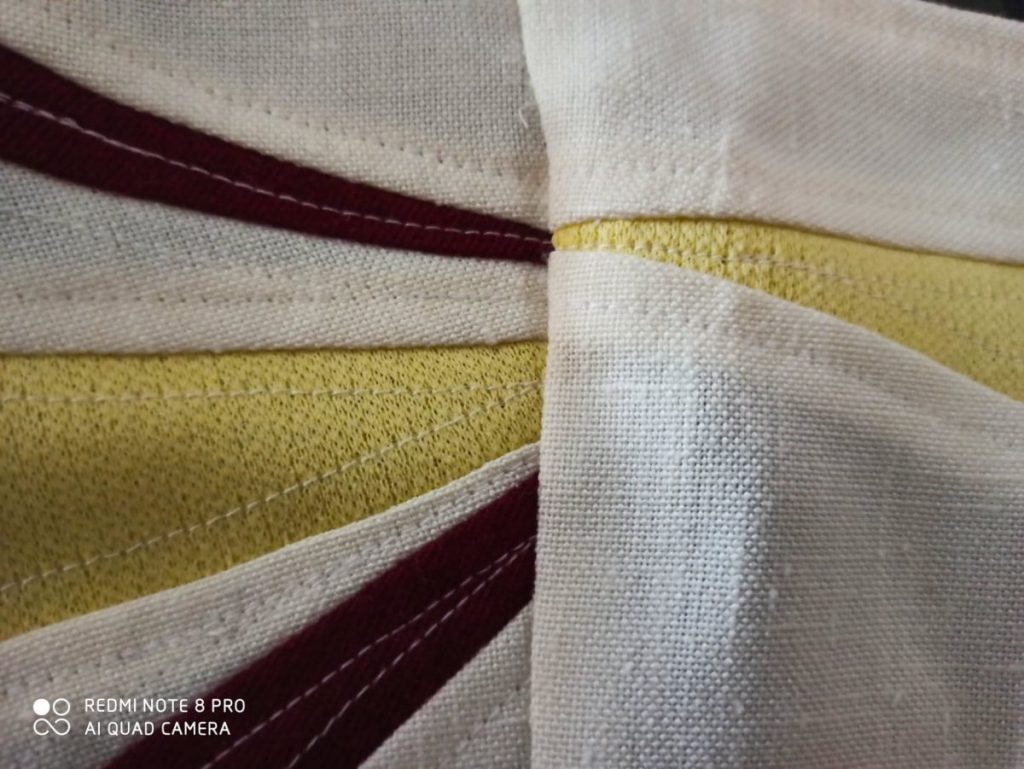
First, you have to assemble the different parts of the back and front, and then make tostitch for each assembly. Second, all three parts must be assembled by the sides. All by lying seams
Step 2: the armhole
Since the armhole was yawning, a can, I sewed a relaxed biais and then made a filled.
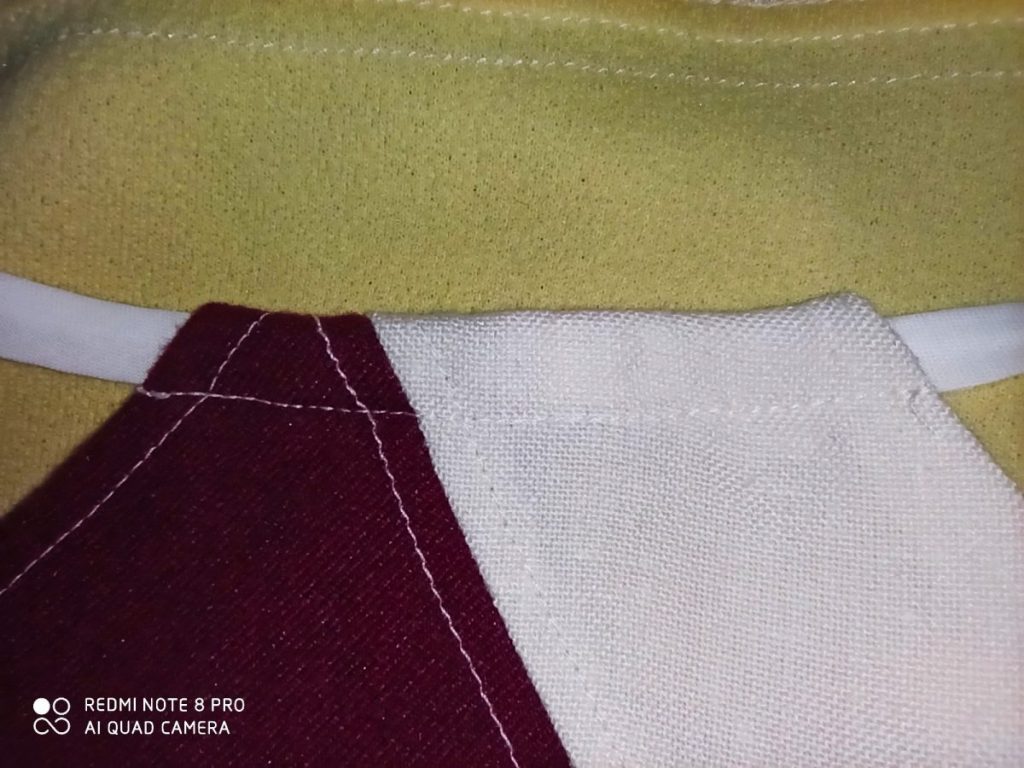
Step 3 : the neckline
To be able to pass a link at the level of the blow, I make a filled oversew then I passed my link, here a bias, with a safety pin.
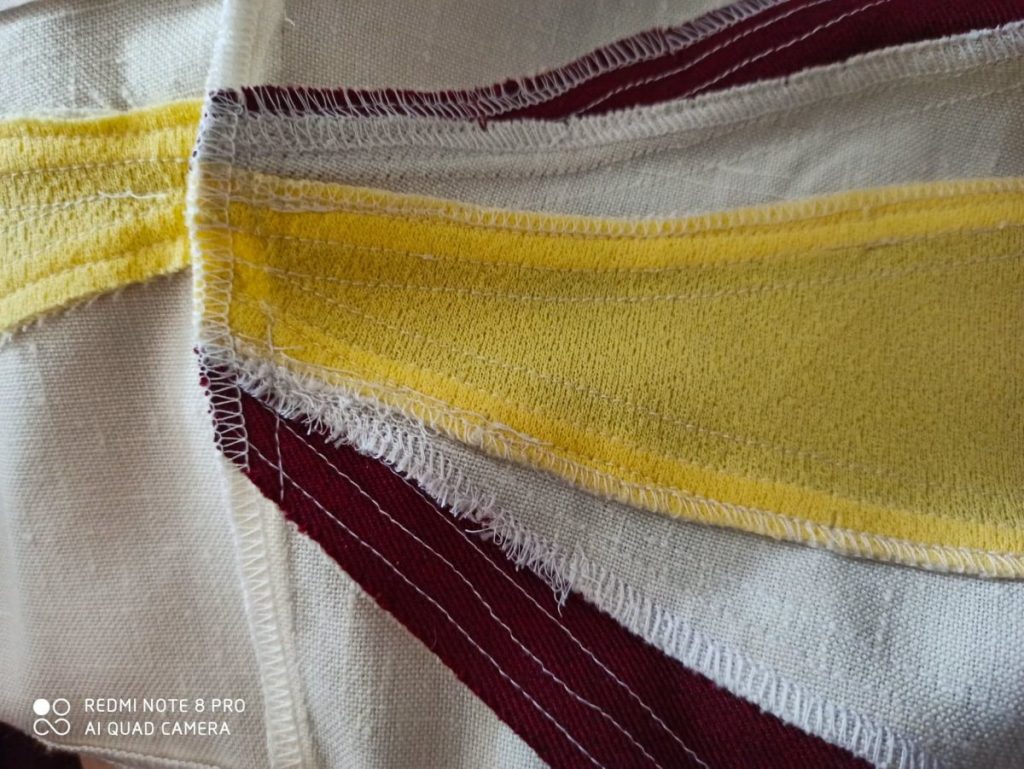
Step 4 : The Bottom
To finish my top, I made a oversew filled.
The back is not closed as we did not have the necessary supplies.


You May Also Like